From shaderLABS
Jump to:navigation, search
This page will quickly cover what you need to start running shaderpacks, as well as how to install OptiFine and Shaderpacks.
System Requirements
Shaderpacks have no impact on the CPU, aside from one effect: dynamic shadowmapping, which require the world to be rendered twice. Any relatively modern CPU will be able to handle these, though for less powerful CPUs like those on laptops, lowering render distance may be required for playable framerates.
All other effects in shaderpacks scale on the GPU. Due to the sheer variety of available shaderpacks there is no single system requirement. The Shaderpacks page lists a rough performance category for each pack, ranging from Potato (which should run even on integrated GPUs several generations old) to Extreme (which require a beefy high end GPU to even be playable at 1080p).
Shaderpacks themselves have little effect on RAM. However, they can take advantage of advanced resource pack features (called PBR materials) which can approximately triple your RAM usage. Beware of this if you wish to run high resolution resource packs — 32GB will be required for the highest end configurations, along with around 10GB of VRAM. However, in modern Minecraft versions you do not need to change your allocated RAM amount to accomodate this.
As for the operating system, most if not all packs are compatible with Windows. GNU/Linux and macOS compatibility are less universal due to low market share and arcane driver restrictions respectively. See the GPU column in the Shaderpacks page for specifics.
As a final note you should always make sure to use a fairly recent graphics driver version, since older versions may cause issues that are no longer taken into account by Shaderpack developers.
Choosing a ShadersMod
OptiFine is the main mod for Minecraft Java Edition that allows shader packs to work. There are a few other mods which aim to load shaders and shader packs. If you’re curious what these other mods are, then read the following paragraphs. Otherwise, feel free to skip them and proceed to the next section.
ShadersMod was the first mod to load shader packs in Minecraft Java Edition. But it’s also been abandoned for quite a long time now ever since OptiFine started including that functionality in 1.8, and later 1.7.10. As such, OptiFine now has a lot of new features that ShadersMod didn’t have, and almost all modern shader packs will no longer work with ShadersMod.
Iris is a new mod for Fabric which is designed to be able to load OptiFine shader packs. Its primary benefit is improved performance over OptiFine, especially when combined with Lithium and Phosphor/Starlight. Iris is also open-source, which means that it will be easier to fix compatibility issues between Iris and other mods. However, Iris is still in development, and it does not yet support all the features that some OptiFine shader packs require.
Focal is a new mod which aims to completely throw out Minecraft’s rendering pipeline and allow shader packs to replace it with their own. This increases the scope of what shader packs can do, and will also allow shader packs to use Vulkan. Right now, Focal is still in development, and the only shader pack which can use it is ContinuumRT. Once Focal is a bit more complete though, other shader developers will start to be able to make use of it too. More information about Focal and ContinuumRT can be found on the Continuum website.
Canvas is a Fabric mod whose main purpose is to give mod authors more control and options for rendering modded blocks. It can also be used for building shader packs, but the design is entirely different than OptiFine and does not yet support all the features needed for a full shader pack implementation. Unlike OptiFine shader packs, Canvas shader packs can be mixed together by adding multiple resource packs.
Minecraft has technically had shader support since 1.7, but it only used shaders for post-processing effects. Those effects can still be seen today by spectating certain mobs, like creepers and spiders. In 1.17 though, Minecraft expanded its shader support, and allowed resource packs to contain shaders. There are a few shader packs which use the vanilla pipeline, but they are not as advanced or powerful as the OptiFine pipeline. More information about vanilla shader packs can be found on our Discord server.
Installing Optifine
The official download page contains links for many versions of Minecraft. The most recent version is displayed first. All other versions can be found by clicking «Show all versions». This will show the recommended version of OptiFine for each Minecraft version. If you want to try the latest version instead of the recommended version, you can find that by clicking «+ Preview versions» for the version of Minecraft you’re using. If you happen to need an older version of OptiFine, you can find them by clicking «+ More».
- Vanilla
- Forge
- Fabric
The OptiFine.jar file will work as a stand-alone installation wizard. Simply double click the OptiFine.jar file to run it, and then click «Install».
If the OptiFine.jar file does not do anything when you double click it, make sure you have Java installed. You can download Java from Adoptium.
If the OptiFine.jar file opens with something else unrelated to Java (like 7zip or WinRar), try running Jarfix first.
Important note: The OptiFine installation wizard will only work with the official Minecraft launcher provided by Mojang.
OptiFine has built-in compatibility with Forge. As such, you can just put your OptiFine.jar file in your mods folder just like any other forge mod. The official download page will also say which version of Forge is supported for the OptiFine version you downloaded. Using a different version of Forge might not work correctly.
When using Fabric, you will also need to install OptiFabric in addition to OptiFine. From there, simply put both OptiFabric.jar and OptiFine.jar into your mods folder, similarly to Forge.
MultiMC
Instructions on installing OptiFine with MultiMC can be found on MultiMC’s wiki.
Installing Shaderpacks
For a list of available Shaderpacks please check the Shaderpack list.
Once you’ve downloaded a pack, place the downloaded zip-file in .minecraft/shaderpacks. Some browsers automatically unzip the downloaded file, in that case move the unzipped folder into your shaderpacks folder and make sure that the folder structure looks like this:
- shaderpacks
    - [Shaderpack name]
         - shaders
Some shaderpacks require special installation, such as bundling multiple versions into one zip. If this is the case, there will typically be an indicator in the zip-file name.
If the shaderpacks folder does not exist, run the game once or just manually create it. Then, load up the game and select it from options > video settings > shaders. Usually the Shaderpacks also have additional options that can be configured. These options can be found under «shader options» in the shader selection screen.
Complementary Reimagined Shaders
от EminGT | Шейдер-паки
для 1.16+, 1.17+, 1.18+, 1.19+
Дополнение Reimagined — это пакет шейдеров Minecraft Java Edition, который стремится к совершенству, сохраняя при этом основн…

Complementary Shaders
от EminGT | Шейдер-паки
для 1.16+, 1.17+, 1.18+, 1.19+
Качественный шейдеры, которые улучшат графику и добавят новые визуальные эффекты. В первую очередь сохранят оригинальный стил…

Kappa Shaders
от RRE36 | Шейдер-паки
для 1.16+, 1.17+, 1.18+, 1.19+
Физика блоков, как в модах игры, или, в данном случае, в пакетах шейдеров, позволяет игроку чувствовать, что это происходит в…
MakeUp Ultra Fast Shaders
от XAVIERFST | Шейдер-паки
для 1.16+, 1.17+, 1.18+, 1.19+
Пакет MakeUp Ultra Fast Shaders содержит следующие функции и улучшения визуальных эффектов игры: тени, глубина резкости, врем…

AstraLex Shaders
от LEXBOOST | Шейдер-паки
для 1.16+, 1.17+, 1.18+, 1.19+
Автор визуально обновил игровой мир сотнями существенных изменений, превратив их в увлекательное и захватывающее путешествие….

SEUS / Sonic Ether’s Unbelievable Shaders
от SONICETHER | Шейдер-паки
для 1.16+, 1.17+, 1.18+, 1.19+
Sonic Ether’s Unbelievable Shaders добавляют элемент реальности в графику, которая действительно дополняет игру в ваниль. Поя…


KUDO Shaders
от DEDELNER | Шейдер-паки
для 1.16+, 1.17+, 1.18+, 1.19+
KUDO Shaders были официально выпущены для широкой публики 11 сентября 2017 года. Их разработка заняла очень много времени в с…

Sildur’s Vibrant Shaders
от SILDUR | Шейдер-паки
для 1.16+, 1.17+, 1.18+, 1.19+
На современном рынке шейдеров большинство шейдеров имеют множество ограничений. Например, многие из них могут работать только…
Kарра Shader [1.19.3] [1.18.2] [1.16.5] [1.12.2]
![Kарра Shader [1.19.3] [1.18.2] [1.16.5] [1.12.2]](https://minecraftexpert.ru/wp-content/uploads/2022/12/162141_63788a99adaee.jpg)
Реалистичный, но аутентичный шейдер, который улучшит графику, но при этом сохранив оригинальный стиль Майнкрафт. Вас ждут потрясающие …
Solas [1.19.3]
![Solas [1.19.3]](https://minecraftexpert.ru/wp-content/uploads/2022/12/161733_635fecee753ee.jpg)
Шейдерпак с уникальными технологиями для улучшения графики при минимальных затратах ресурсов компьютера. Будет добавлено цветное и глобальное …
BSL Shaders [1.19.3] [1.18.2] [1.16.5] [1.12.2]
![BSL Shaders [1.19.3] [1.18.2] [1.16.5] [1.12.2]](https://minecraftexpert.ru/wp-content/uploads/2020/10/1M3Cron.png)
Отличный шейдерпак, который сделает цвета в игре сочнее, освещение ярче, появятся тени у блоков и предметов, также …
SEUS PTGI E12 + HRR 2.1 [1.16.5] [1.15.2] [1.12.2] (шейдеры RTX с трассировкой лучей)
![SEUS PTGI E12 + HRR 2.1 [1.16.5] [1.15.2] [1.12.2] (шейдеры RTX с трассировкой лучей)](https://minecraftexpert.ru/wp-content/uploads/2019/07/df667c506fb6321e4ef5488f5e9676000f855bb2.png)
Шейдер SEUS PTGI E12 с трассировкой лучей света в реальном времени сделает Майнкрафт необычайно реалистичным. Никто не …
BeyondBelief VanillaReborn [1.19.3] [1.18.2] [1.16.5] [1.12.2]
![BeyondBelief VanillaReborn [1.19.3] [1.18.2] [1.16.5] [1.12.2]](https://minecraftexpert.ru/wp-content/uploads/2021/03/637228862364022578.png)
Основная задача данного шейдеры это улучшение графики Майнкрафт путем небольших изменения и добавлении различных эффектов. Главной особенностью …
Complementary Shaders [1.19.3] [1.18.2] [1.16.5] [1.12.2]
![Complementary Shaders [1.19.3] [1.18.2] [1.16.5] [1.12.2]](https://minecraftexpert.ru/wp-content/uploads/2020/11/2020_05_26_18.png)
Качественный шейдеры, которые улучшат графику и добавят новые визуальные эффекты. В первую очередь разработчики хотели сохранить оригинальный …
MakeUp — Ultra Fast [1.19.3] [1.18.2] [1.16.5] [1.12.2]
![MakeUp — Ultra Fast [1.19.3] [1.18.2] [1.16.5] [1.12.2]](https://minecraftexpert.ru/wp-content/uploads/2021/05/608d81a696422.jpeg)
Неплохой шейдер, который позволяет отключать не нужные эффекты и улучшения графики. Главной достоинство это оптимизация, которая позволяет …
Insаnity Shаder [1.19.3] [1.18.2] [1.16.5] [1.12.2] — хоррор шейдер
![Insаnity Shаder [1.19.3] [1.18.2] [1.16.5] [1.12.2] — хоррор шейдер](https://minecraftexpert.ru/wp-content/uploads/2022/05/626e99cee0d77.png)
Необычный шейдер, который сделает Майнкрафт очень мрачным похожим на фильм ужасов. Данный шейдерпак создан на основе BSL …
Sildur’s Vibrant v1.41 [1.19.3] [1.18.2] [1.16.5] [1.12.2]
![Sildur’s Vibrant v1.41 [1.19.3] [1.18.2] [1.16.5] [1.12.2]](https://minecraftexpert.ru/wp-content/uploads/2022/01/1-1-728x386.png)
Sildurs Vibrant Shaders этот шейдерпак добавляет в игру тени от предметов, динамическое освещение, колышущую траву и листья. …
Continuum Shaders [1.18.2] [1.17.1] [1.16.5] [1.15.2] [1.12.2]
![Continuum Shaders [1.18.2] [1.17.1] [1.16.5] [1.15.2] [1.12.2]](https://minecraftexpert.ru/wp-content/uploads/2016/04/2015-07-28_11.10.13-728x386.png)
Continuum Shaders это специальный шейдерпак для мощных компьютеров и воссоздания максимально качественной картинки с реалистичными эффектами. Шейдеры …
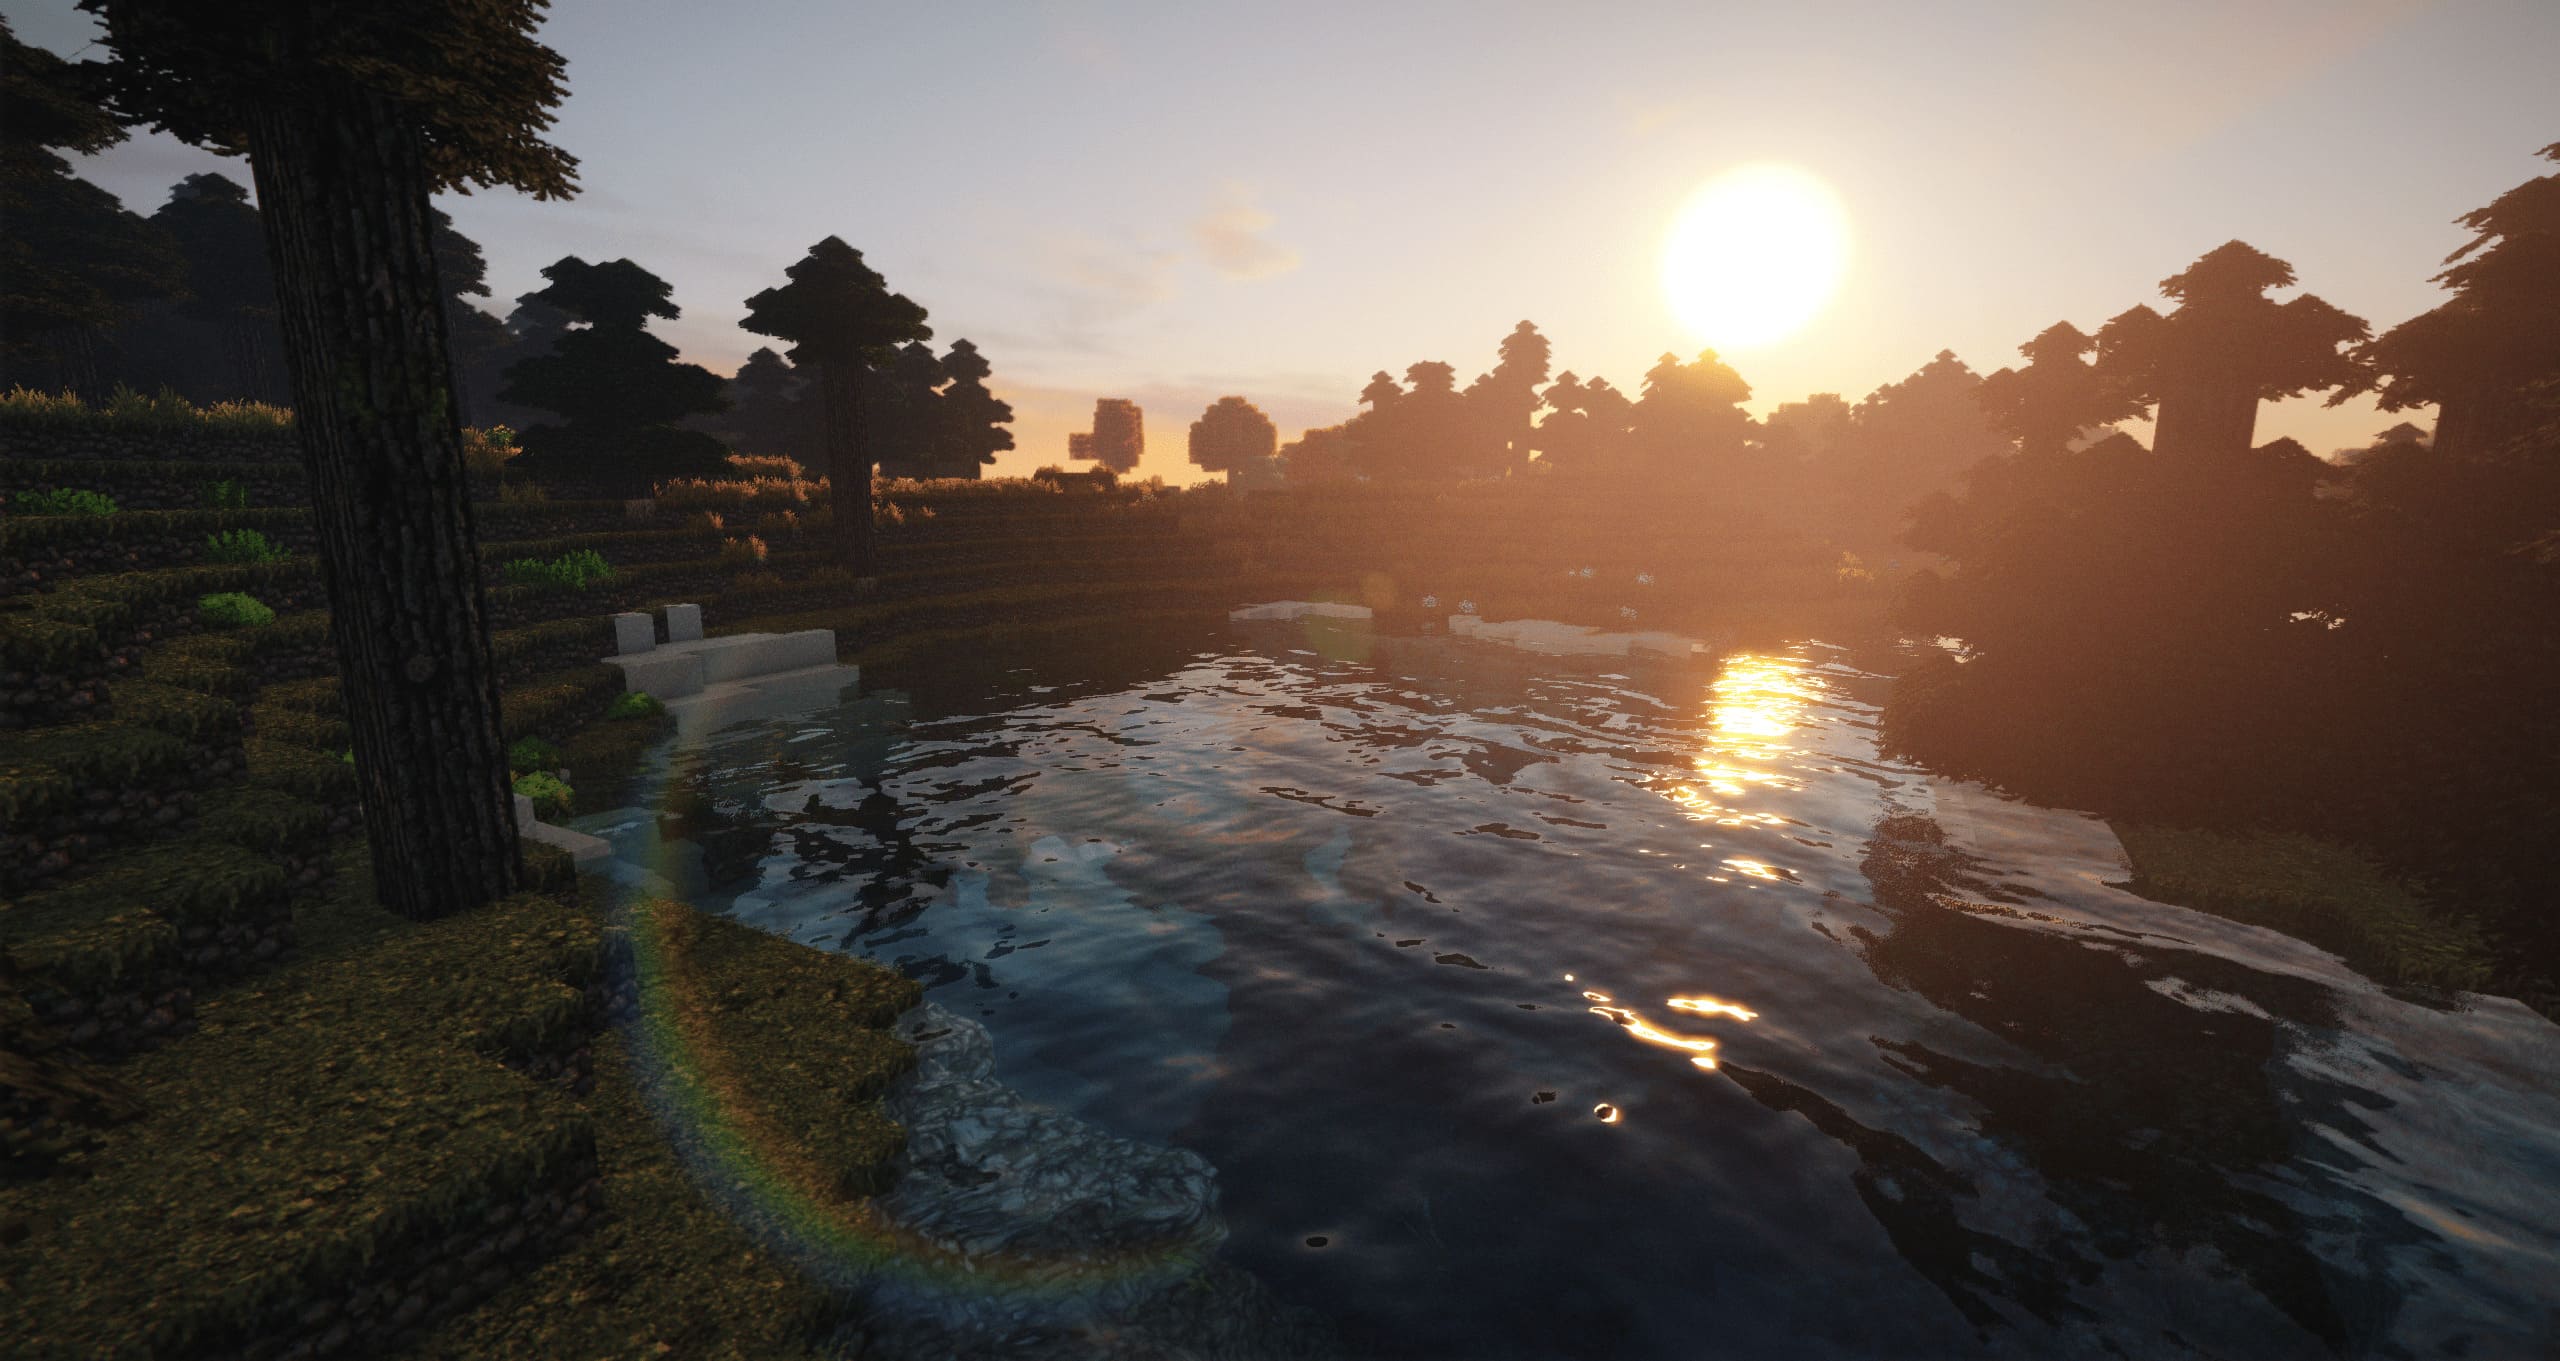
Шейдеры для Майнкрафт 1.19.3 / 1.18.2 / 1.16.5 / 1.12.2 улучшат графику в игре путем добавления динамических теней и изменения схемы освещения. Скачать Шейдеры можно тут, выберите понравившиеся из списка ниже. Здесь представлены необходимые модификации для преображения игры Майнкрафт путем модификации визуальных эффектов и добавлениях новых. Давайте все-таки разберемся что такое Шейдеры для Майнкрафт. Это переработка визуальной составляющей игры в пользу повышения качества. В игре появится реалистичные тени объектов в зависимости от положения солнца и других источников света, таких как факелы, лава или печь. Вода станет прозрачной, появятся отражения и небольшие волны. Блоки будут намокать под дождем, а некоторые из них отражать свет. Листва деревьев и трава с цветами колыхаются как будто дует ветер. Это шикарно будет смотреться в сочетании качественным ресурс паком. Рекомендуем скачать Шейдеры для Майнкрафт для полного раскрытия визуального потенциала игры. После установки шейдеров еще раз прогуляетесь по знакомым местам и будете поражены изменениям. Один минус, для обработки такого количества эффектов понадобиться не слабый компьютер. Не огорчайтесь, разработчики решили эту проблему и выпустили специальные редакции шейдеров с оптимизацией путем удаления некоторых эффектов для слабых компьютеров. Шейдеры для Майнкрафт в основном совместимы со всеми популярными релизами игры. Но может возникнуть несовместимость с модификациями или ресурс паками. Но благодаря большому выбору можно подобрать, то что будет хорошо работать и устроит вас в плане графики.
Коэффициенты предоставлены

The Arena Anthem 2023
07:16. Завершен
IG Vitality

0 – 2

Unity Gaming
09:34. Завершен
Myth Avenue Gaming

0 – 2

Meteor Gaming
12:09. Завершен
LBZS

2 – 0

QWE
14:16. Завершен
Myth Avenue Gaming
1 – 1

Boom
Прокачиваем Майнкрафт версии 1.16.5.
Minecraft прокачивают и улучшают все, кому не лень. За долгие годы сообщество игроков придумало множество способов кастомизации и улучшения любимого Майнкрафта: от модов до сидов с готовыми мирами.
Сейчас одной из самых популярных версий игры является Майнкрафт 1.16.5, поэтому давайте рассмотрим еще один крутой способ прокачать его: использование шейдеров и текстур. Шейдеры заменяют стандартные текстуры игры на более качественные версии. Если мощность вашего ПК позволяет насладиться качественными шейдерами воды, неба или погоды, то почему бы их и не скачать, правильно?
Для работы шейдеров, перечисленных ниже, требуются сторонние программы. Если шейдер очень старый, то нужна программа Shaders mod, но в большинстве случаев нужна Optifine.
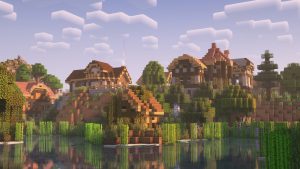
Лучший шейдер воды, погоды и текстур – projectLUMA
Настоящий мастхев для игроков в Майнкрафт 1.16.5. Этот шейдер покрывает большую часть хотелок владельцев слабых и среднепроизводительных компьютеров. projectLUMA улучшает текстуры воды, облаков и окружающего мира.
Только посмотрите на эти блики на воде, топовые текстуры и работу шейдера освещения:

У шейдера есть три варианта «заводских» настроек: Low, Medium, Ultra. Слишком заметной разницы в картинке между ними, но на слабых компьютерах установка этого шейдера в Low может сохранить десяток-другой ФПС, не потеряв в качественных текстурах.
Как установить шейдер
- Убедитесь, что у вас установлена последняя версия Optifine
- Скачайте шейдер: https://ru-minecraft.ru/download/files/projectLUMA-v1.32.zip
- Скопируйте его файлы в специальную папку Майнкрафта: minecraft/shaderpacks (если папки shaderpacks нет, создайте ее)
- Запустите Майнкрафт 1.16.5 с Optifine
- Включите шейдер, для этого пройдите по следующему пути Настройки → Настройки графики → Шейдеры
- Готово, вы установили и включили шейдер. В том же пункте меню можно поиграться с настройками шейдера.
Сиды для Майнкрафт 1.16.4
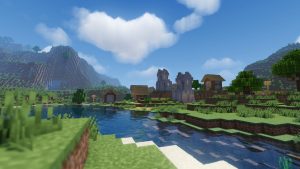
Лучший шейдер для слабых компьютеров – SFLP Shaders
Этот шейдер создавался специально для слабых ПК. Разработчик хорошо поработал над производительностью, но не забыл и про визуальное качество картинки, и в итоге получился грамотно сбалансированный продукт для всех любителей Майнкрафт 1.16.5.
У шейдера есть три настройки: Light, Low и Standart. Лайтовую версию стоит включать на очень слабых ноутбуках или компьютерах, и все равно наслаждаться шейдерами воды (но куча других фишек будет отключена для лучшей производительности).
На Low картинка становится более полной, появляются тени (пускай и не супер топового качества), а Standart – максимально проработанная версия, которая на слабых ПК будет подъедать фпс, зато качество будет максимально возможным для этого шейдера.
Вот сравнение трех версий, от Light до Standart:
Скачать шейдер для слабых компьютеров:
Light https://ru-minecraft.ru/engine/download.php?id=36363
Low https://ru-minecraft.ru/engine/download.php?id=36362
Standart https://ru-minecraft.ru/engine/download.php?id=36361
Сиды для Майнкрафт 1.7.10
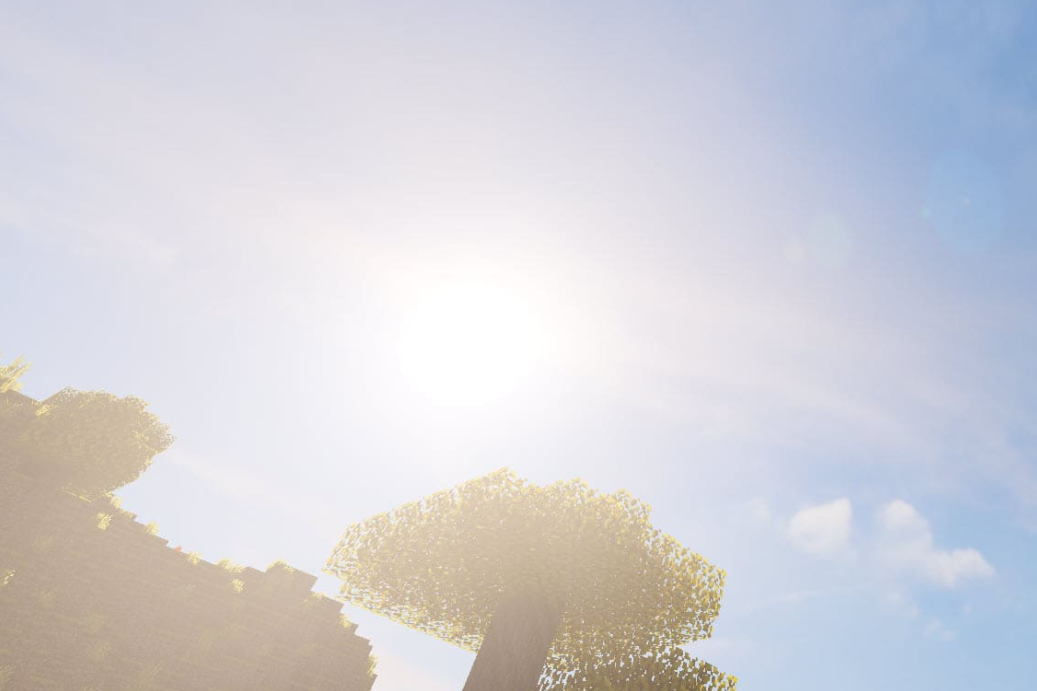
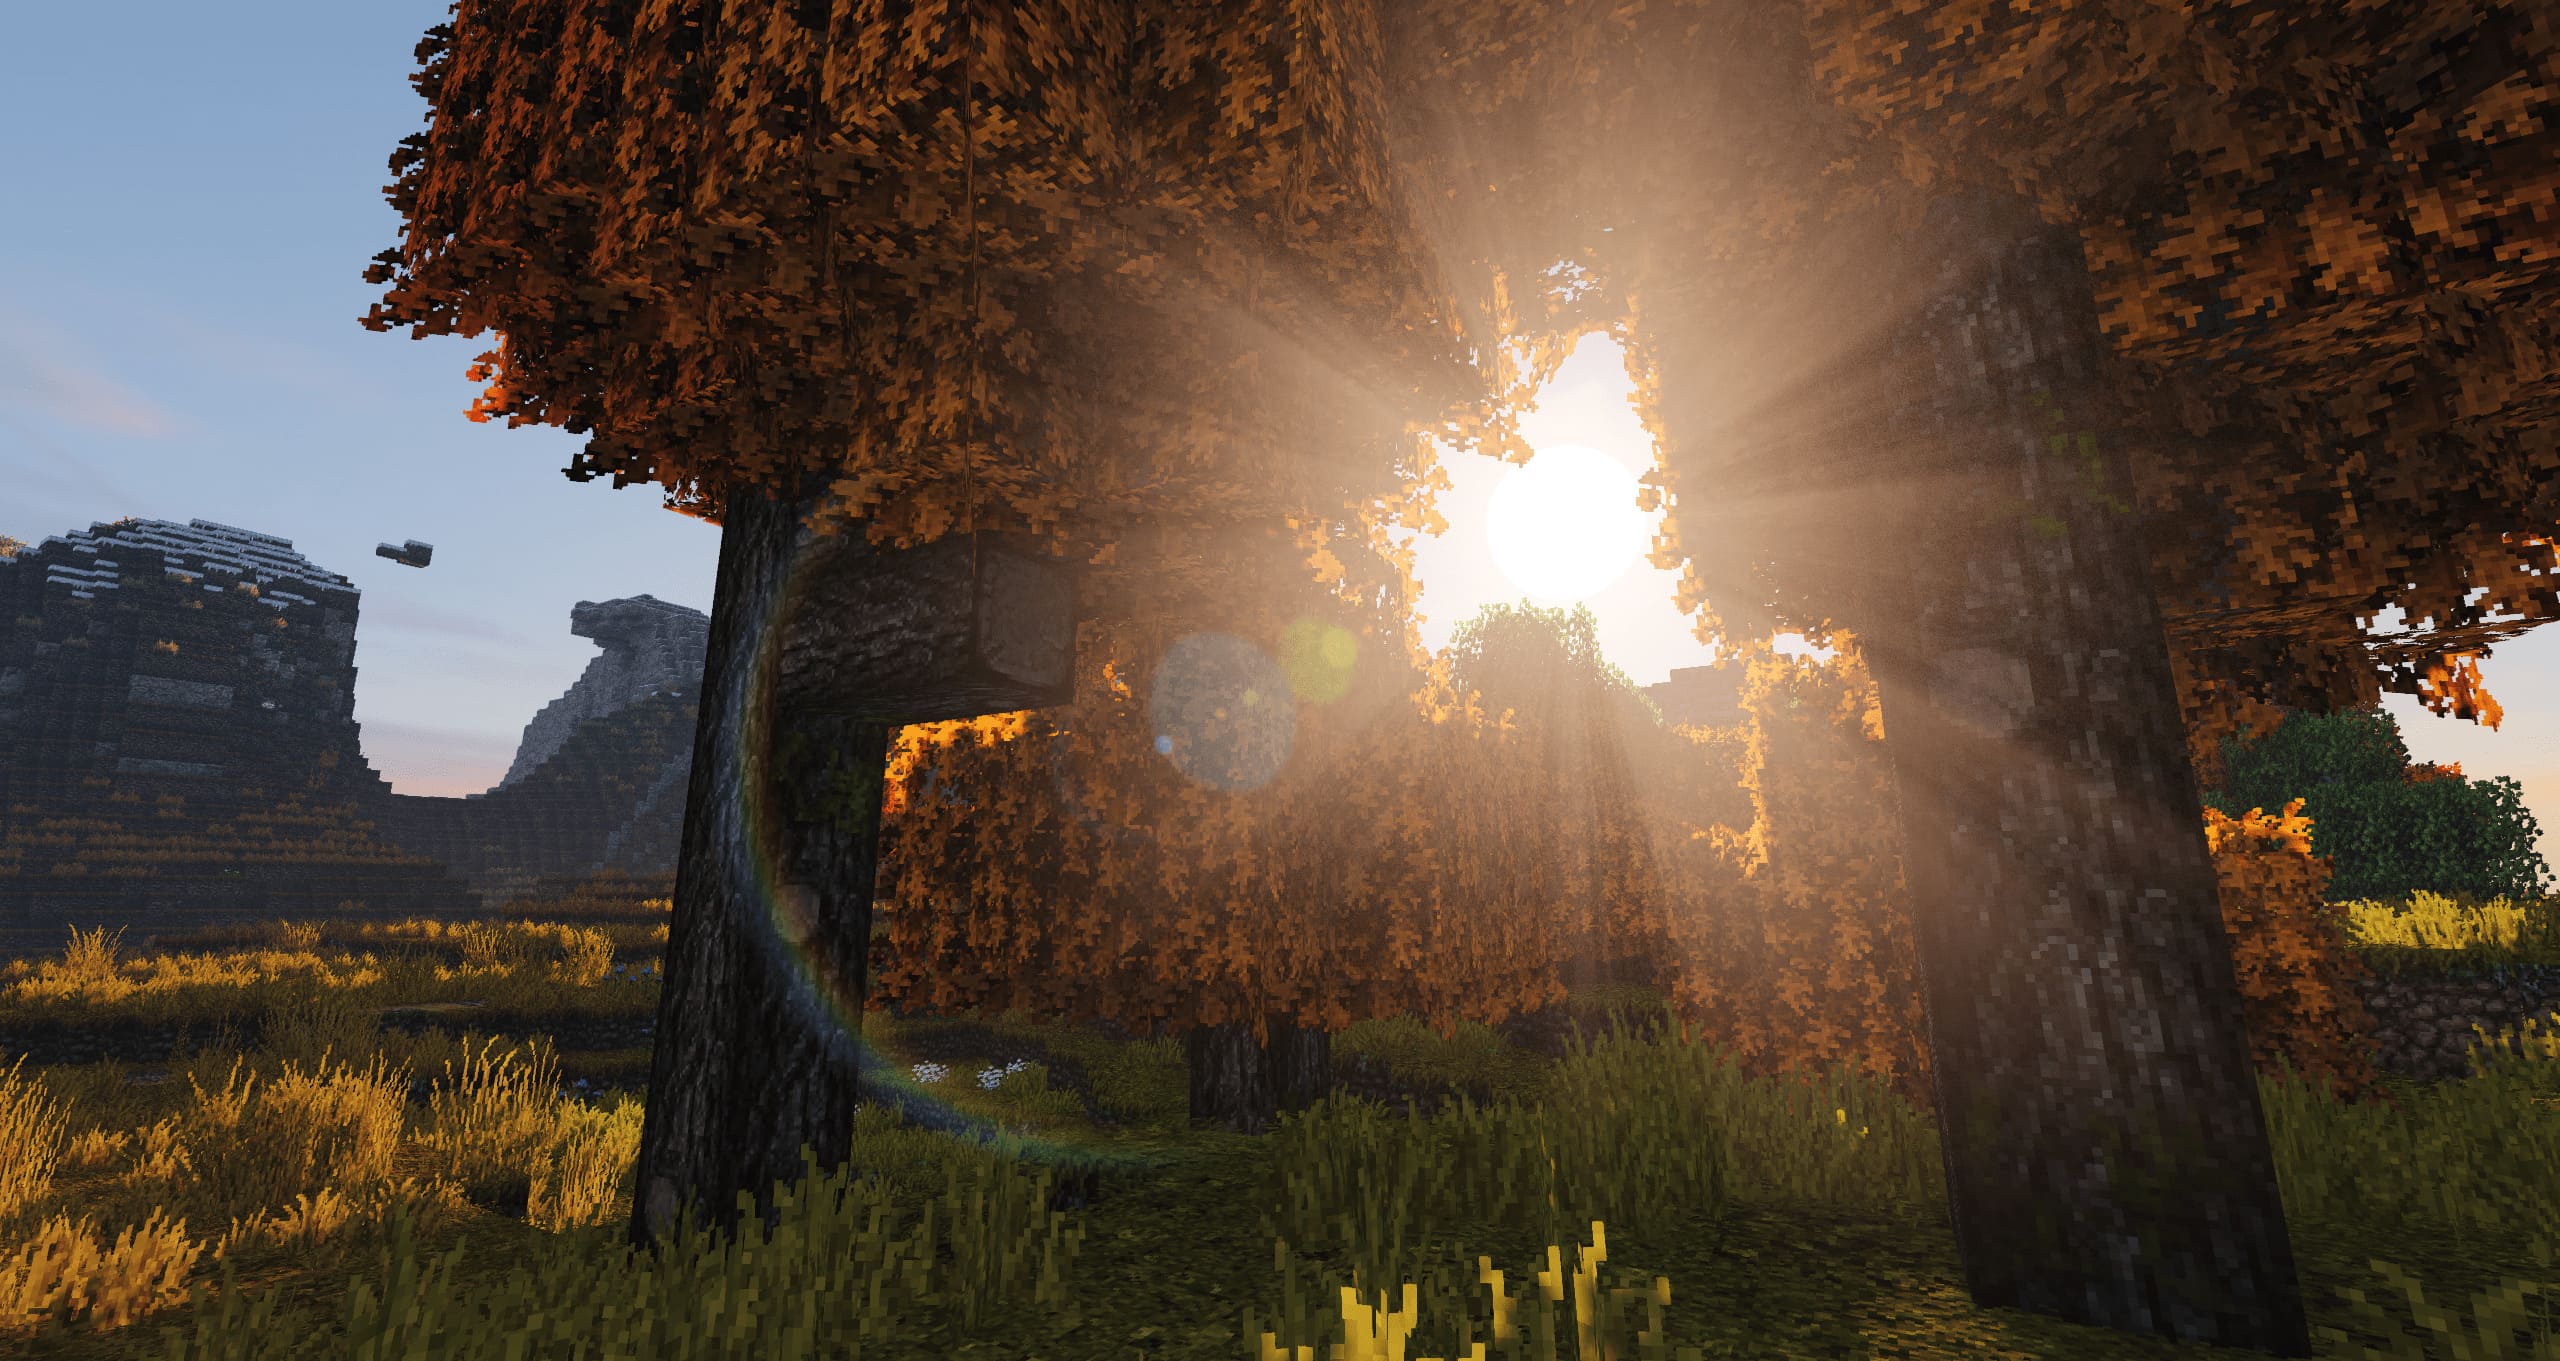
Реалистичный шейдер – BSL Shaders
Настоящая находка для любителей реализма (и обладателей сильного ПК). Этот шейдер для Майнкрафт 1.16.5 дает реалистичное освещение с хорошо проработанными лучами и тенями. Также есть настройки для небольшого размытия картинки, так называемый блюр.
В настройках шейдера есть версии Low, Medium и High, но даже на Low-настройках комфортно играть на слабых ПК вряд ли получится.
Полюбоваться на уровень реализма шейдера можно на этих скриншотах с разным временем суток:
Скачать реалистичный шейдер: https://ru-minecraft.ru/engine/download.php?id=86977
А какие шейдеры и текстуры для Майнкрафт 1.16.5 используете вы? Делитесь в комментариях!
Промокоды и коды PUBG Mobile
Бесплатные алмазы Free Fire: как их получить
This page is intended as a quick tutorial on how to install[1] OptiFine, Iris, Shader Packs.
System Requirements
Due to the sheer variety of available Shader Packs it is difficult to determine general system requirements, especially when it comes to graphics cards. Since all Shader Packs using dynamic shadows require the world to be rendered twice, an at least moderately powerful CPU is recommended. A second gen Ryzen CPU like a 2600X or an older Intel i5 (eg. from the 4000 series) should already provide enough compute power to run Shader Packs using dynamic shadows at reasonable view distances (eg. 8-12 Chunks). Additionally you should make sure that you have enough system memory installed since Shader Packs with supported resource packs can use quite a lot of memory. 16GB of RAM are usually a comfortable amount that should allow you to run most if not all Resource- and Shader Pack configurations.
Giving a requirement for a graphics card to be used depends a lot on the used Shader Packs since there are packs that run fine on integrated graphics while others manage to even make a 2080Ti struggle. Thus no requirement or recommendation is given here, all that generally applies in this regard is that you should make sure to choose a Shader Packs that your system can deliver the desired performance with.
As for the operating system, Windows and in many cases Gnu/Linux work fine. As for macOS, this is highly dependent on the Shader Pack due to some driver restrictions that are not existing with other operating systems, which is why you should go by the compatibility info given in the Shader Packs list.
As a final note you should always make sure to use a fairly recent graphics driver version, since older versions may cause issues that are no longer taken into account by Shader Pack developers.
Installing OptiFine
OptiFine is the main mod that allows shaders to work. You may have also heard of the Shaders Mod. Don’t use this. The shaders mod is massively outdated nowadays and Shader Pack support is included in OptiFine. Starting with OptiFine F2 for Minecraft 1.8.8 the Shader Pack support of OptiFine continuously received new features, which eventually got picked up by Shader Pack developers. This rendered the separate Shaders Mod not only obsolete but also incompatible with modern Shader Packs relying on these new features.
You can download OptiFine https://OptiFine.net/downloads here.
You install OptiFine by executing (double-click) the downloaded java file. This way a new profile will be created inside the minecraft launcher which you then can select by clicking on the game version shown in the bottom left corner.
Installing Iris
Iris is the Fabric alternative to OptiFine and can drastically improve fps. Iris is mostly compatible with OptiFine shaderpacks however some may have glitches. Iris also requires Sodium, but it is bundled in with the launcher. You can download the Iris Launcher https://irisshaders.net/download. You can install the Iris Launcher by executing (double-click) the downloaded java file. Once you choose your version a new profile will be created inside the minecraft launcher which you then can select by clicking on the game version shown in the bottom left corner.
Installing Shader packs
For a list of available Shader Packs please check the Shader Pack list.
Once you’ve downloaded a pack, place the downloaded zip-file in .minecraft/shaderpacks. Some browsers automatically unzip the downloaded file, in that case move the unzipped folder into your shaderpacks folder and make sure that the folder structure looks like this:
 - shaderpacks
     - [Shader Pack name]
          - shaders
If the shaderpacks folder does not exist, run the game once or just manually create it. Then, if using OptiFine load up the game and select it from options > video settings > shaders and if using Iris load up the game and select it from options > video settings > shader packs. Usually on OptiFine the Shader Packs also have additional options that can be configured. These options can be found under «shader options» in the shader selection screen.
References
- ↑ https://minecraftshader.com/how-to-install-shaders-in-minecraft/
- Автор: capttatsu
- Загружено: 5 млн
- Обновлено: 11.02.2023
- Последняя версия 1.19.3
Обзор BSL Shaders
BSL Shaders
BSL Shaders – популярный шейдер пак, который делает игровой мир невероятно красочным и реалистичным. Многие пользователи уже устанавливали шейдер паки, и не нашли подходящего. А если вы никогда не устанавливали шейдер пак, и не знаете, для чего он нужен, вам стоит остановить на шейдер паке BSL Shaders. У данного пака множество преимуществ, вы получаете не только красивый и реалистичный мир, но также обилие настроек, при помощи которых можно настроить шейдер пак под себя. Помните, что шейдер паки требует хорошую производительность компьютера, и этот пак не исключение. Но взамен вы получите красивый мир с оживлёнными текстурами, и поверьте, оно того стоит. Рассмотрим основные моменты, которые появятся в игровом мире Майнкрафта после установки шейдер пака BSL Shaders.


Настройки шейдер пака
Если вам не нравятся стандартные настройки, которые сделал автор, вы можете изменить некоторые функции, чтобы они подходили именно вам. Вы сможете изменить сразу все настройки, путём изменения качества текстур, а можно изменять по отдельности составные части игрового мира. Например, вы можете изменить качество и яркость освещения, цвет неба, внешнюю атмосферу, качество воды и многие другие параметры. Ну и в целом, играть со стандартными настройками довольно-таки приятно, поэтому если вас все устраивает, вы можете и не обращаться к настройкам шейдер пака. Так что поскорее перейдем в игровой мир, чтобы узнать обо всех изменениях.


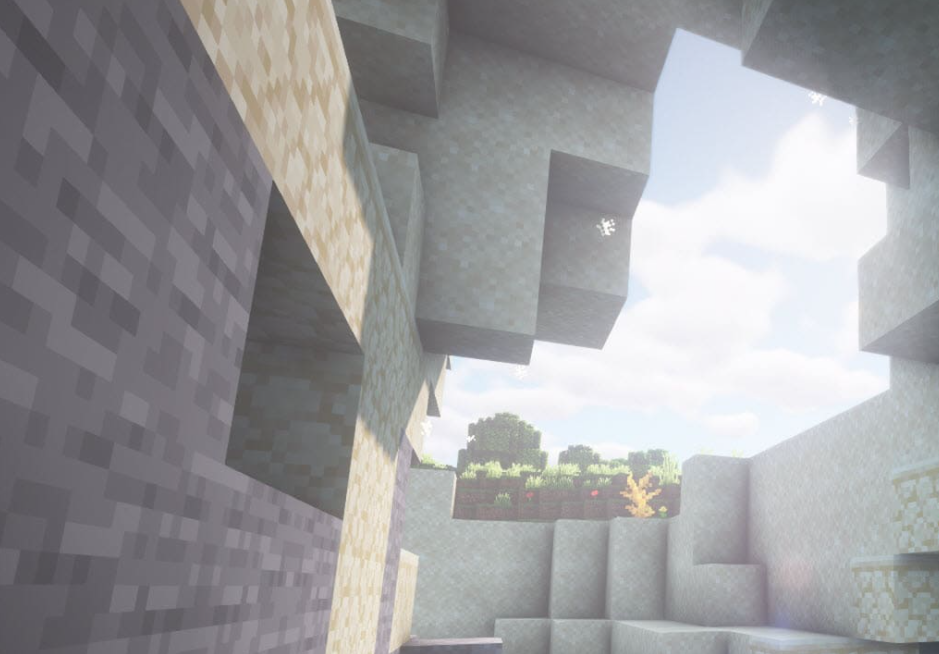
Игровое небо
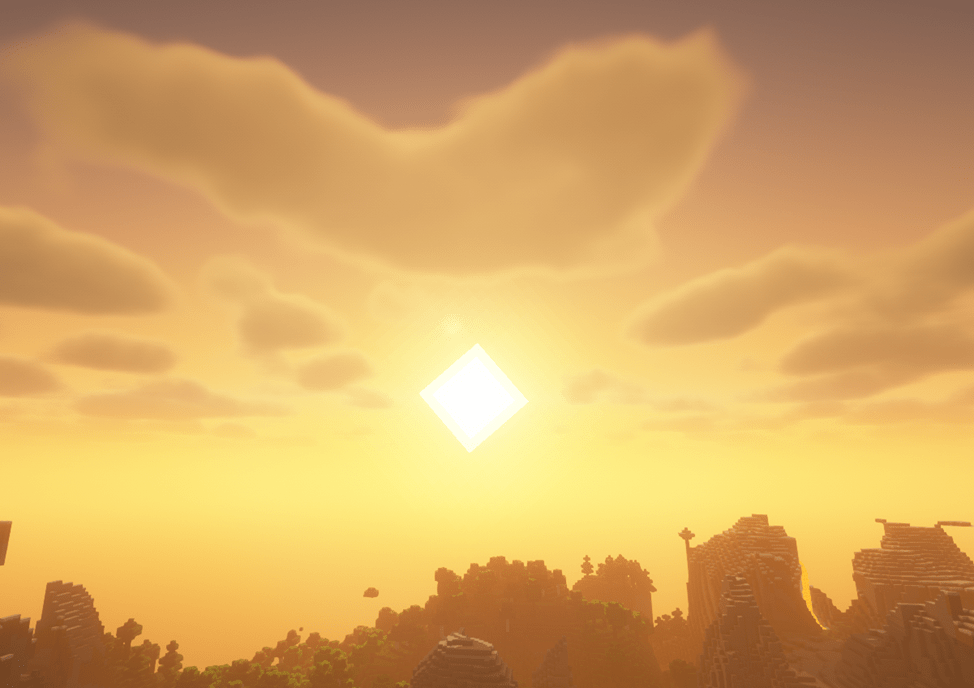
На небе больше не видать прежних квадратных облаков, которые смотрелись, не особо красиво, хотя некоторые просто не обращали на это внимание. А если вы ценитель красивого неба, вам стоит установить это дополнение. Теперь облака становятся очень похожими на реальные, они имеют разную форму и размер, и это добавляет небольшое разнообразие. Если вглядываться в облака, можно увидеть, что они способны менять форму. Вы могли замечать, что солнце выглядит достаточно тусклым, и от него вовсе не отходят лучи. После установки шейдер пака всё изменится, солнце будет очень ярким, и можно увидеть отходящие лучи.


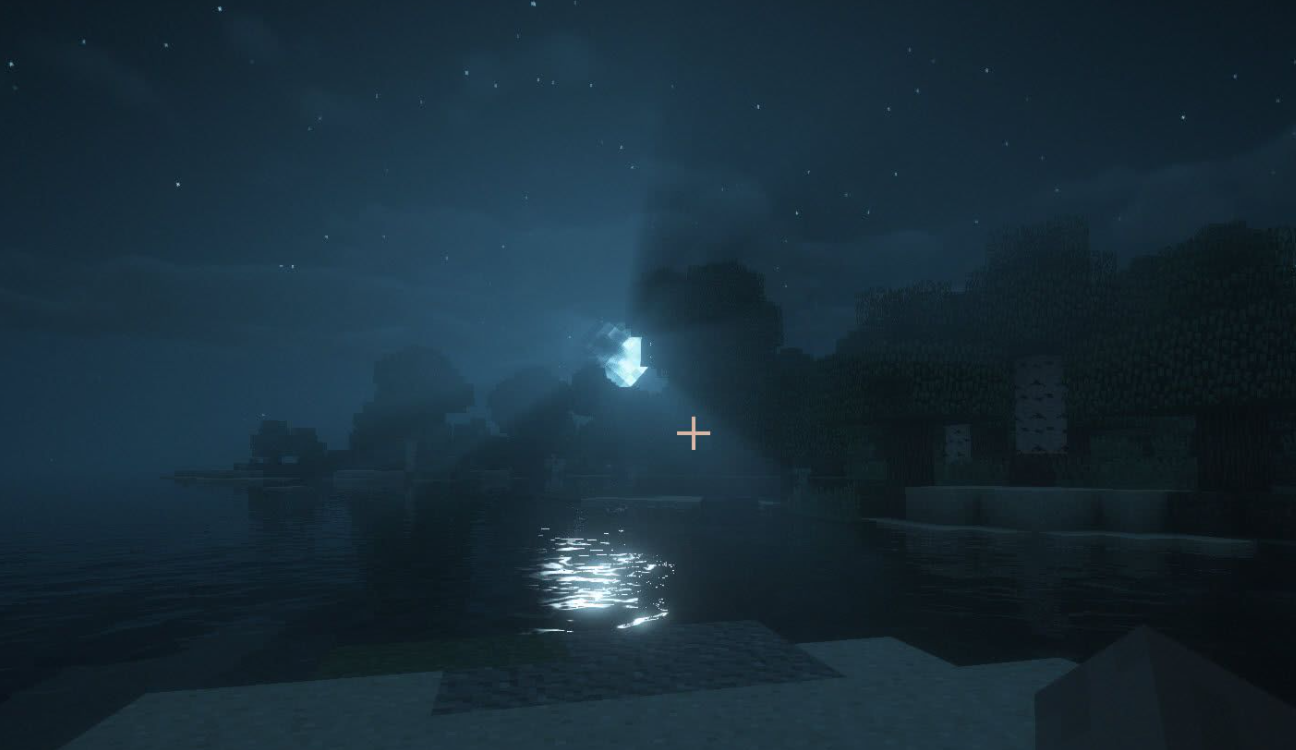
Ночное небо
Не будет долго останавливаться на дневном небе, и перейдем ближе к вечеру, когда наступает закат, и начинает появляться луна. В это время нужно обязательно обратить внимание на небо, ведь оно покроется красивым оранжевым оттенком. А мир будет очень ярко сиять соответствующими красками. Ночной мир достаточно тёмный, и если вам это не особо нравится, можете изменить настройки. Хотя в это время суток мир выглядит поистине насыщенным, вдали можно обнаружить густой туман, а на небе сияющую луну, которая будет немного освещать мир. В некоторых местах можно заметить тени, о которых мы тоже сейчас расскажем. Эта тень появляется благодаря небольшому количеству лунного света.

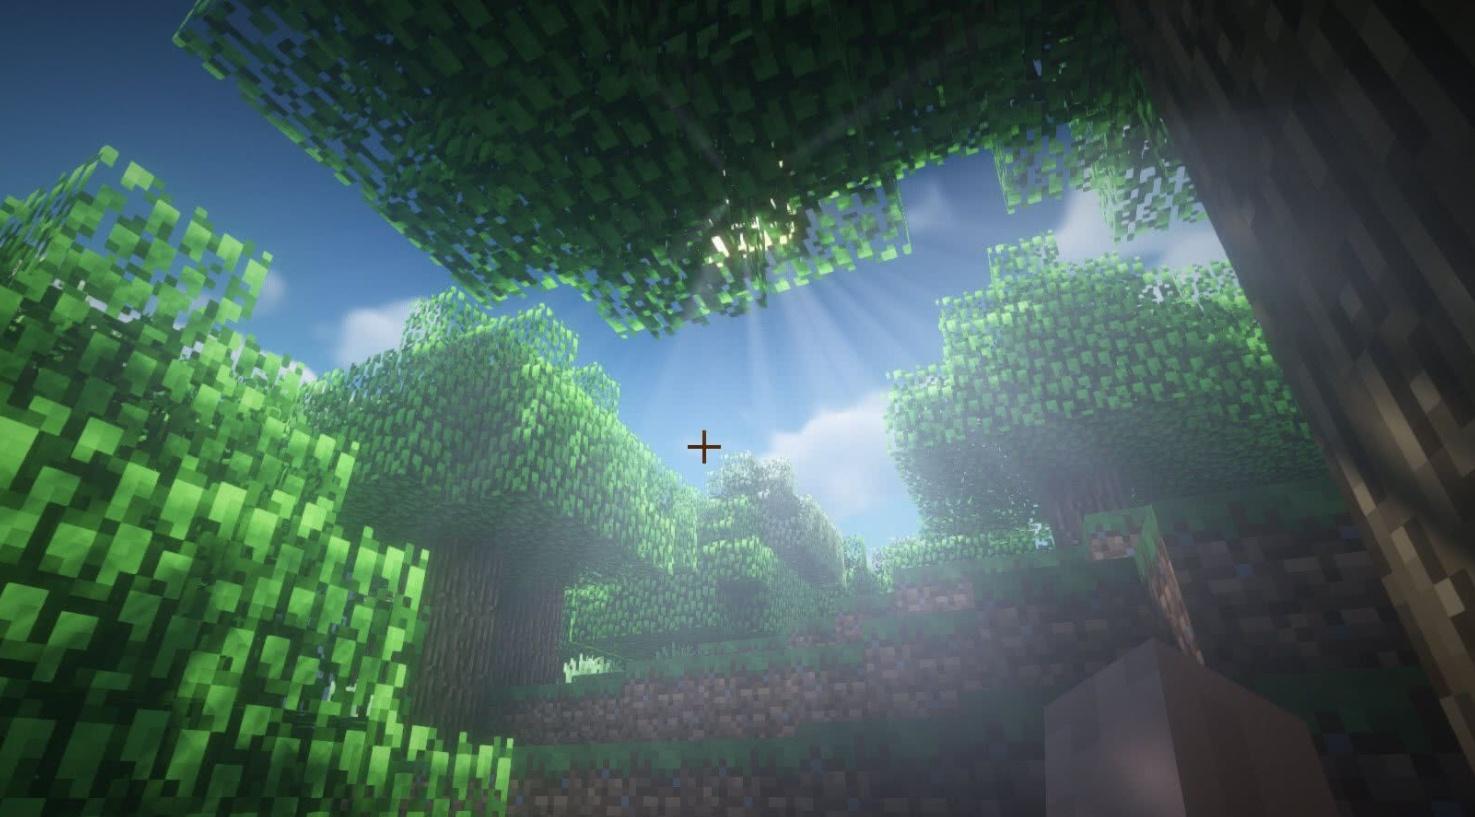
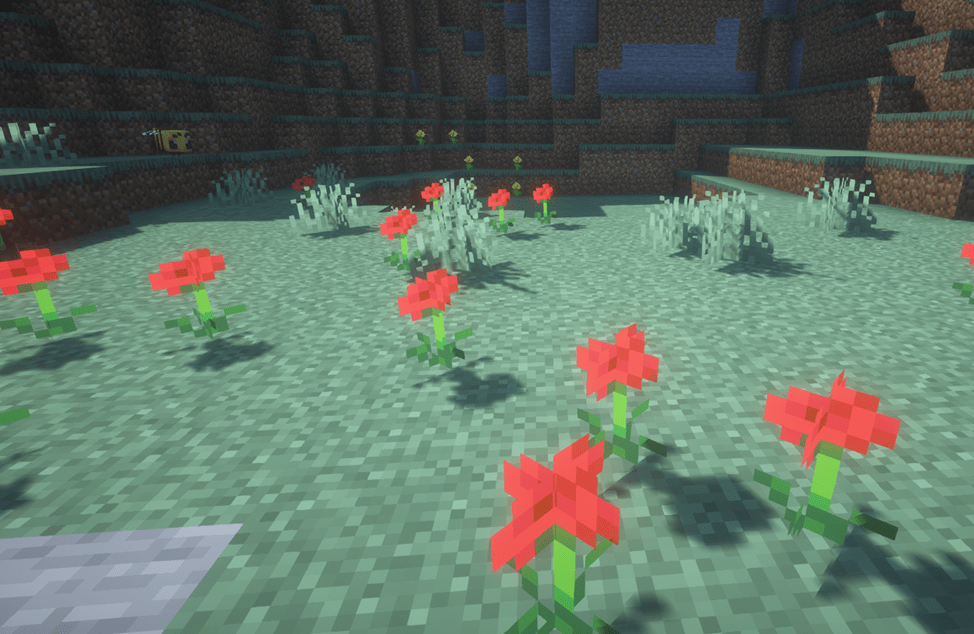
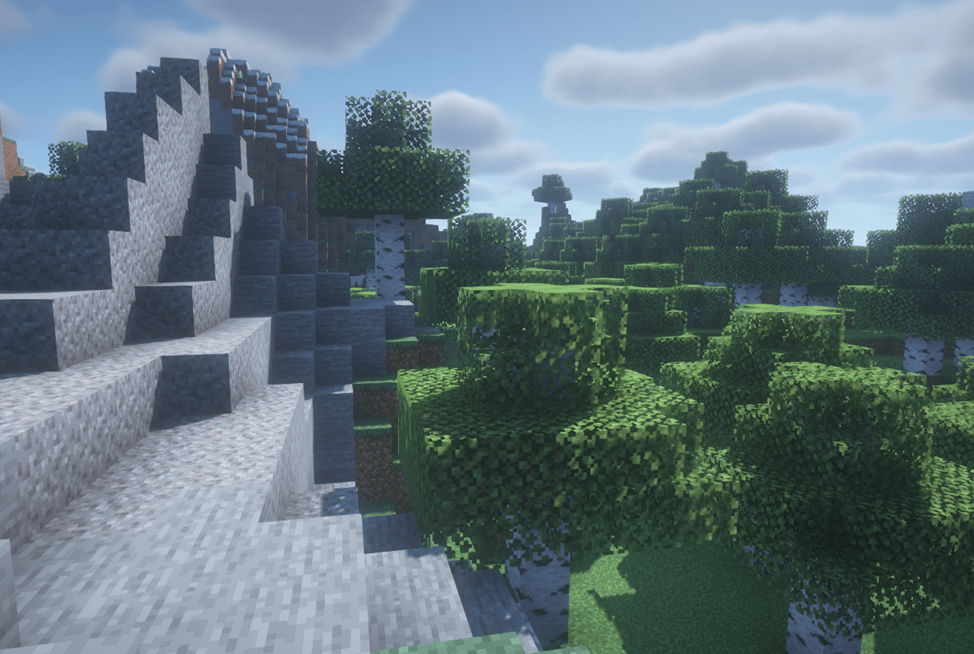
Тени и движущиеся растения
Как и во многих других шейдер паках, здесь есть тени, которые появляются от всех объектов благодаря солнечному свету. Особенностей здесь каких-то нет, вы будете видеть тени от себя, гор, построек, и даже травы, в общем, от всего. Также растения теперь способны колыхаться благодаря ветру. Это колыхание очень плавное, и этот процесс завораживает красотой. Ведь именно благодаря шейдер паку можно увидеть эти моменты, в ванильном Майнкрафте такого нет.
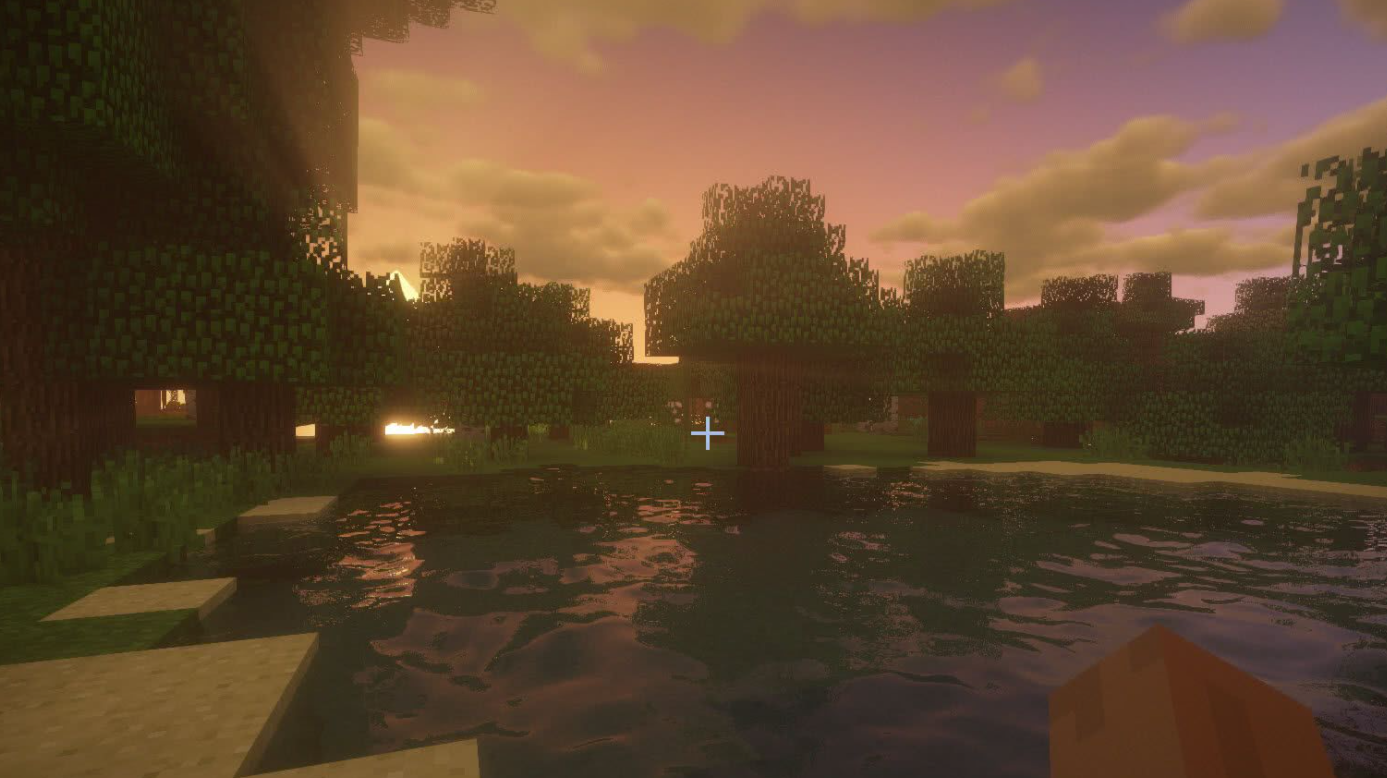
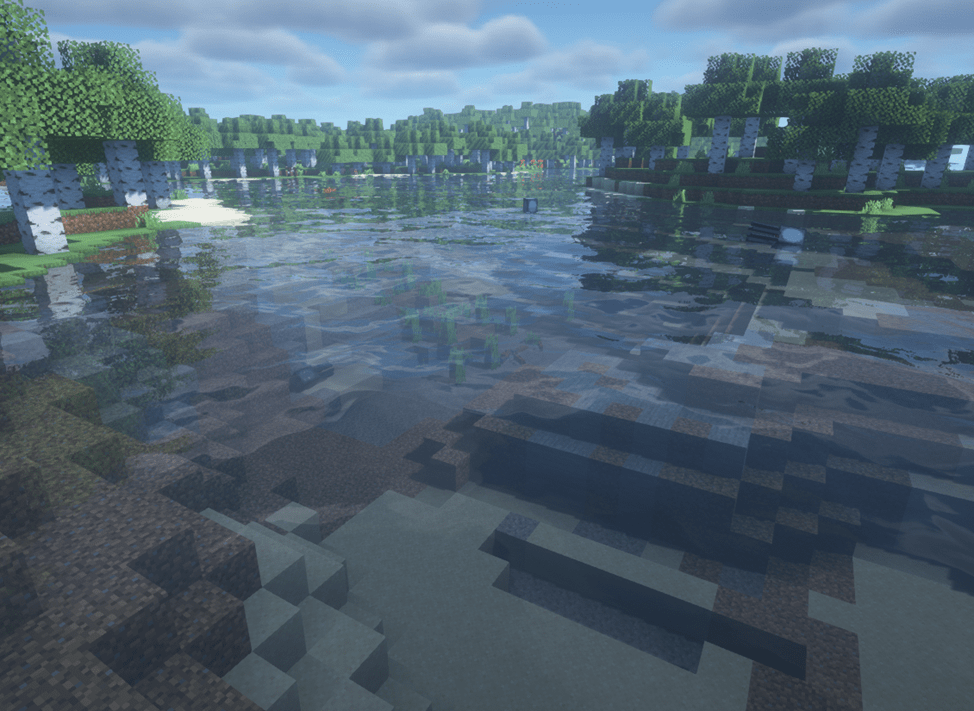
Вода
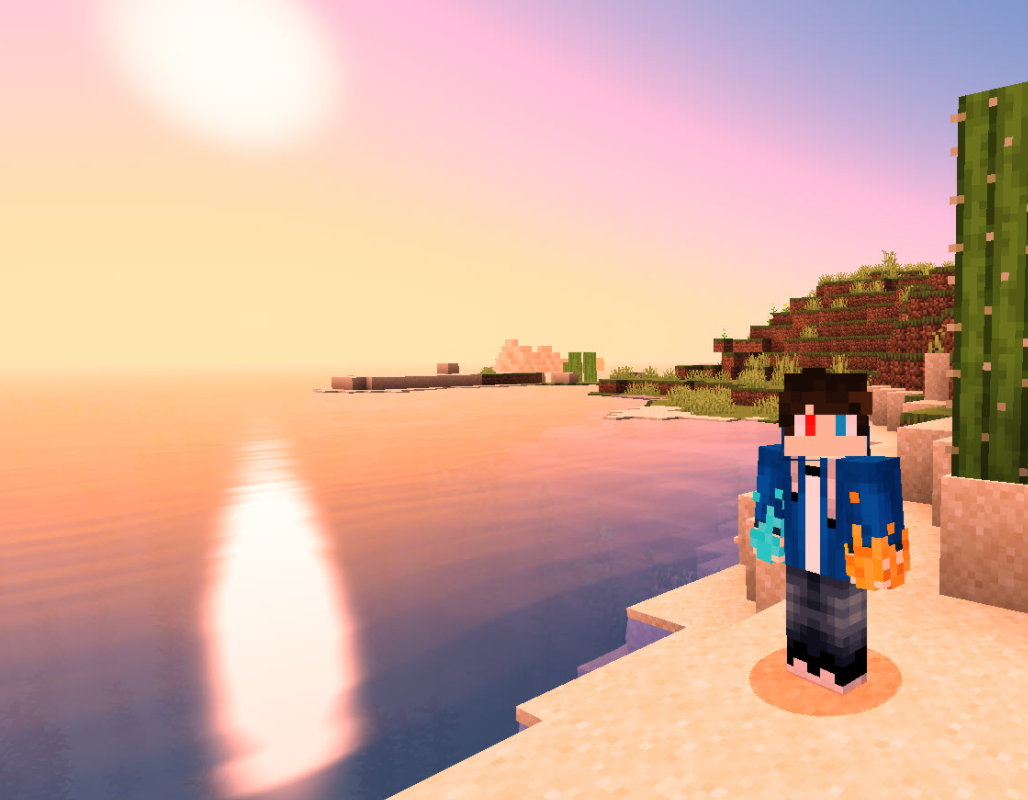
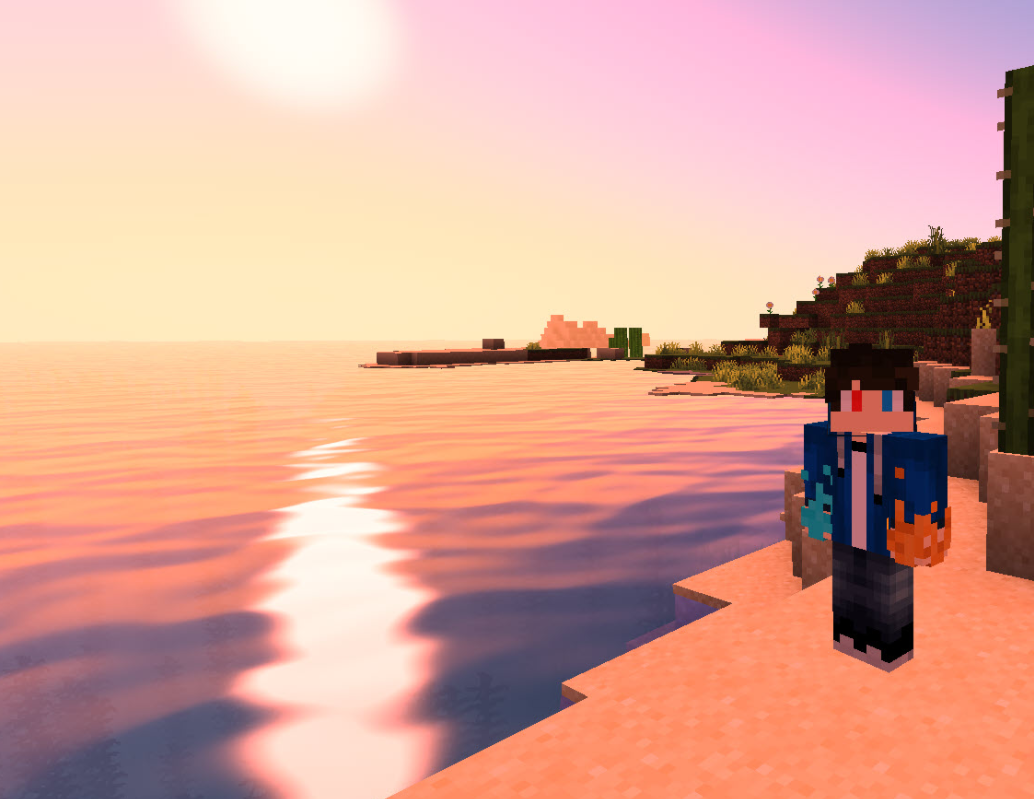
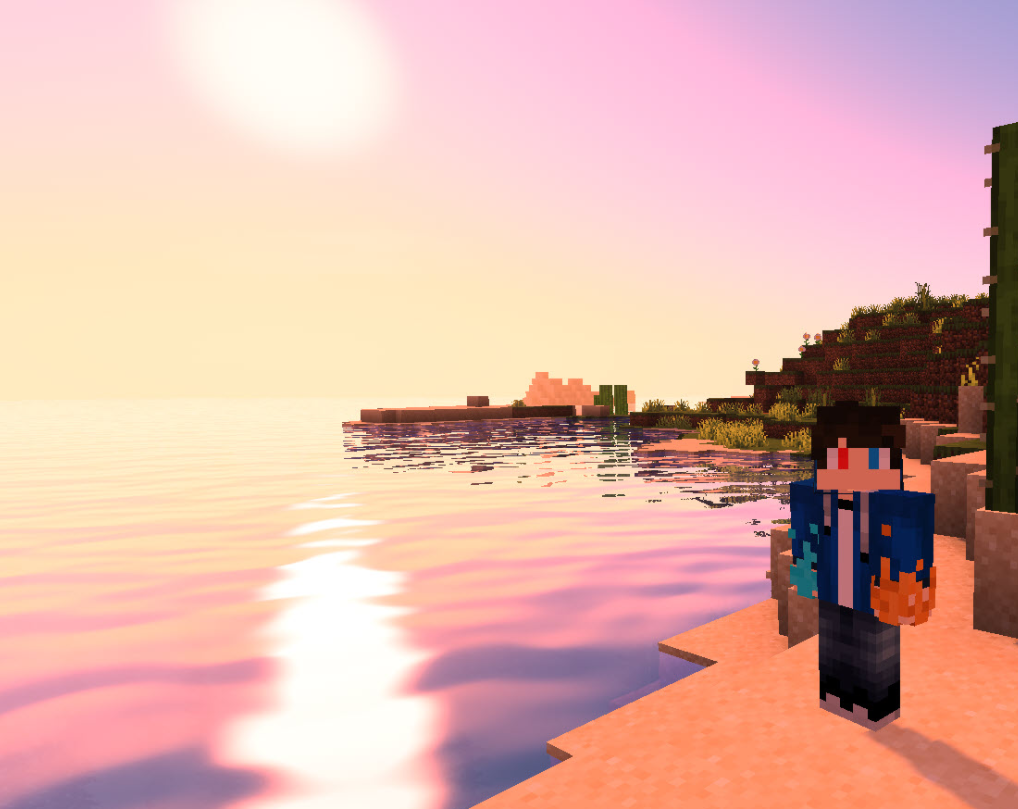
Внешний слой воды теперь стал очень прозрачным, и можно заметить более реалистичную окраску, нежели раньше. А ещё можно обнаружить плавные движения волн, которые создают красивый эффект. Если приглядеться на воду в дневное время суток, то можно увидеть отражение солнца, причём оно круглое, а не как на небе квадратное. Подводный мир стал гораздо ярче, поэтому вы можете исследовать этот мир новыми глазами. Вам даже не придется пить зелье ночного видения, чтобы видеть на более дальние дистанции.


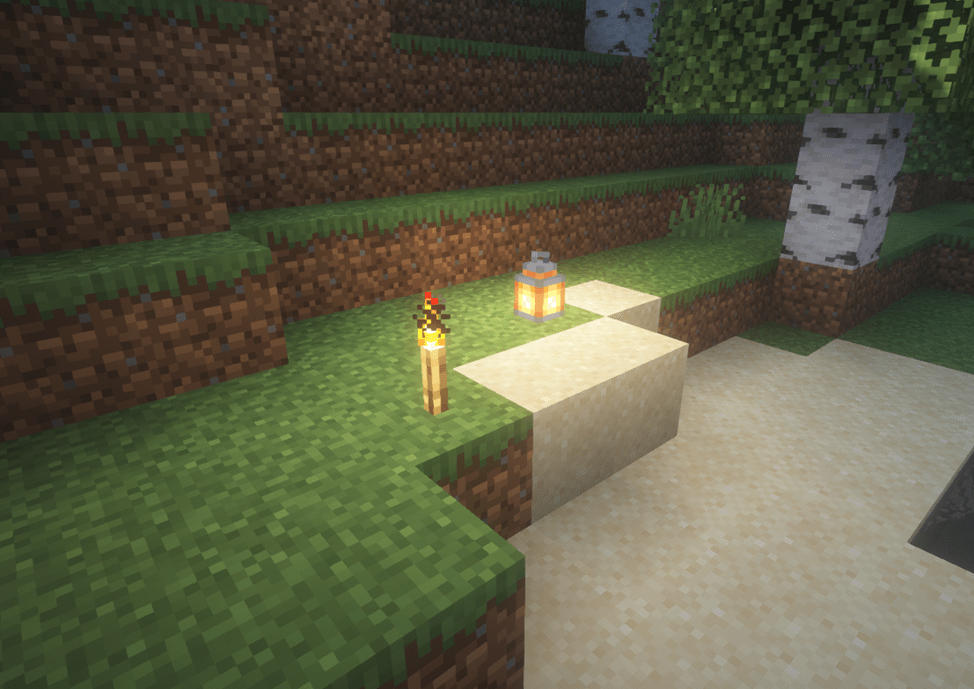
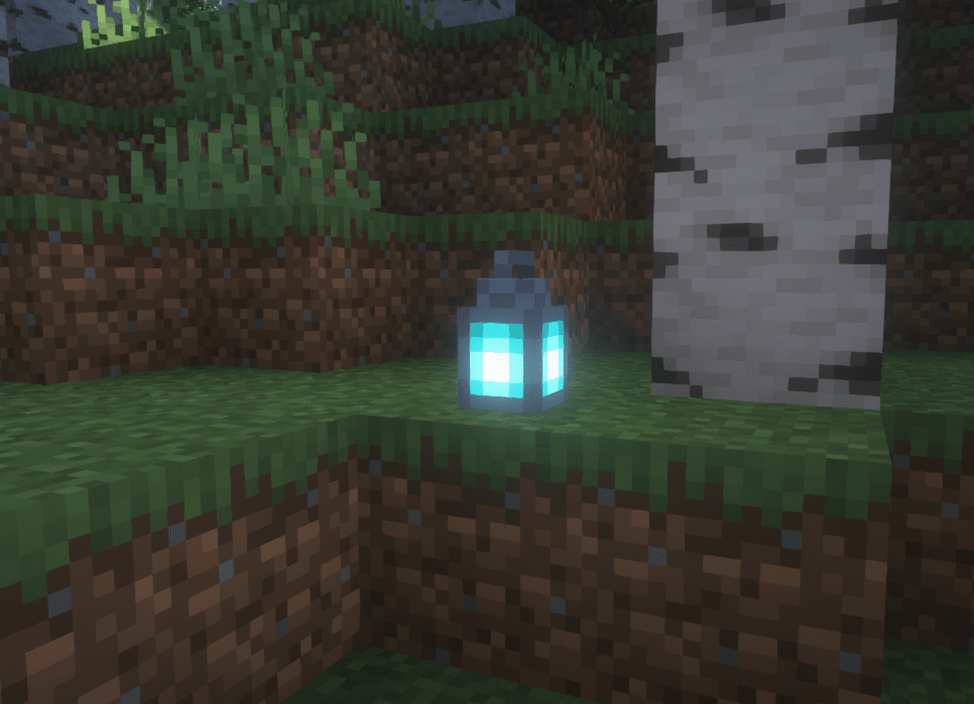
Освещение
Ну и, конечно же, стоит поговорить о блоках освещения, у которых также появилось несколько особенностей. Теперь блоки освещения способны давать свет даже в дневное время суток, особенно это заметно в тенях. В местах, где попадет солнечный свет, тоже можно обнаружить небольшое количество света, но только от более ярких блоков, например, от обычного факела. А вот фонарь душ вовсе не даёт освещение в дневное время суток, хотя сам блок будет очень ярко светиться. Ну а в ночное время суток, освещение безупречного качества, вы точно поразитесь этому.


Скриншоты BSL Shaders

Скачать BSL Shaders
ДОСТУПЕН НА СЛЕДУЮЩИЕ ВЕРСИИ: 1.19.3, 1.19.2, 1.19, 1.18.2, 1.18.1, 1.17.1, 1.16.5, 1.16.4, 1.16.3, 1.16.1, 1.15.2, 1.14.4, 1.14.3, 1.14.2, 1.13.2, 1.12.2, 1.12.1, 1.12, 1.11.2, 1.11, 1.10.2, 1.10, 1.9.4, 1.9, 1.8.9, 1.8.8, 1.8, 1.7.10
Версии игры
ЛЮБАЯ
ЛЮБАЯ
1.19.3
1.19.2
1.19
1.18.2
1.18.1
1.17.1
1.16.5
1.16.4
1.16.3
1.16.1
1.15.2
1.14.4
1.14.3
1.14.2
1.13.2
1.12.2
1.12.1
1.12
1.11.2
1.11
1.10.2
1.10
1.9.4
1.9
1.8.9
1.8.8
1.8
1.7.10
Выводить только последние версии шейдеров
| ВЕРСИЯ | ДАТА ЗАГРУЗКИ | ТИП ВЕРСИИ | ТИП | РАЗМЕР | ВЕРСИЯ ИГРЫ | ЗАГРУЖЕНО | |
|---|---|---|---|---|---|---|---|
| BSL v8.2.02 | 11.02.2023 | ЛЮБАЯ | R | 923 КБ | 1.19.3, 1.18.2, 1.17.1, 1.16.5, 1.15.2, 1.14.4, 1.13.2, 1.12.2, 1.11.2, 1.10.2, 1.9.4, 1.8.9, 1.7.10 | 53 тыс | Скачать |
| BSL v8.2.01 | 27.11.2022 | ЛЮБАЯ | R | 921 КБ | 1.19.2, 1.18.2, 1.17.1, 1.16.5, 1.15.2, 1.14.4, 1.13.2, 1.12.2, 1.11.2, 1.10.2, 1.9.4, 1.8.9, 1.7.10 | 210 тыс | Скачать |
| BSL v8.2 | 09.10.2022 | ЛЮБАЯ | R | 920 КБ | 1.19.2, 1.18.2, 1.17.1, 1.16.5, 1.15.2, 1.14.4, 1.13.2, 1.12.2, 1.11.2, 1.10.2, 1.9.4, 1.8.9, 1.7.10 | 116 тыс | Скачать |
| BSL v8.1.03 | 10.07.2022 | ЛЮБАЯ | R | 919 КБ | 1.19, 1.18.2, 1.17.1, 1.16.5, 1.15.2, 1.14.4, 1.13.2, 1.12.2, 1.11.2, 1.10.2, 1.9.4, 1.8.9, 1.7.10 | 98 тыс | Скачать |
| BSL v8.1.02.3 | 25.05.2022 | ЛЮБАЯ | R | 918 КБ | 1.19, 1.18.2, 1.17.1, 1.16.5, 1.15.2, 1.14.4, 1.13.2, 1.12.2, 1.11.2, 1.10.2, 1.9.4, 1.8.9, 1.7.10 | 275 тыс | Скачать |
| BSL v8.1.02.2 | 14.04.2022 | ЛЮБАЯ | R | 918 КБ | 1.18.2, 1.17.1, 1.16.5, 1.15.2, 1.14.4, 1.13.2, 1.12.2, 1.11.2, 1.10.2, 1.9.4, 1.8.9, 1.7.10 | 2 млн | Скачать |
| BSL v8.1.02.2 | 31.03.2022 | ЛЮБАЯ | R | 918 КБ | 1.18.2, 1.17.1, 1.16.5, 1.15.2, 1.14.4, 1.13.2, 1.12.2, 1.11.2, 1.10.2, 1.9.4, 1.8.9, 1.7.10 | 24 тыс | Скачать |
| BSL v8.1.02.1 | 16.01.2022 | ЛЮБАЯ | R | 918 КБ | 1.18.1, 1.17.1, 1.16.5, 1.15.2, 1.14.4, 1.13.2, 1.12.2, 1.11.2, 1.10.2, 1.9.4, 1.8.9, 1.7.10 | 119 тыс | Скачать |